

Why? Why do I do this?
I always imagined what the raspberry rolls would taste like, and I found myself having a sudden craving for something of the sort a little while ago. Call me lazy, but I didn't want to drag my baby down to stand in line with a car seat in hand just to get one. So I made them instead.
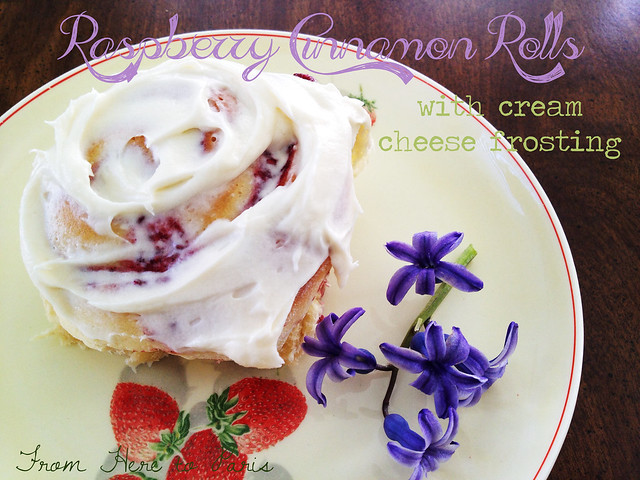
The end result is a soft, sweet roll filled with raspberry and cinnamon goodness. Top them with cream cheese frosting and they are to die for. You might want to give them all away so you don't have the constant temptation of them being around...or you might want to stash them away so you can eat them all.
Recipe adapted from this Epicurious recipe.
Raspberry Cinnamon Rolls with Cream Cheese Frosting
makes about 32 rolls
print this recipe
Dough:
2 cups milk (2% or whole)
6 Tbs unsalted butter
7 cups (or more) all-purpose flour, divided
1 cup sugar
2 large eggs
4 1/2 tsp. yeast
2 tsp. salt
non-stick vegetable spray
Filling:
1 12 oz bag frozen raspberries, thawed
1/4 cup brown sugar
1 tsp cinnamon
1 Tbs cornstarch
Cream Cheese Frosting:
8 oz cream cheese, at room temperature
1/2 cup unsalted butter (1 stick), at room temperature
2 cups powdered sugar
1 tsp vanilla extract

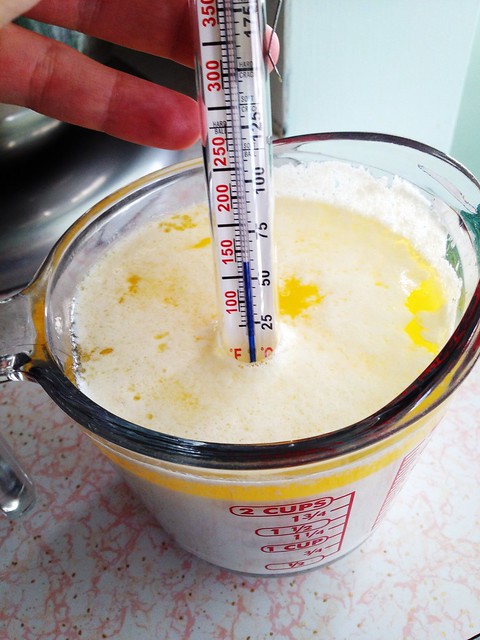
First combine the milk and butter in a microwave-safe bowl. I used my Pyrex measuring cup. Cut the butter into pieces so it is easier to melt. Microwave on high until the butter is melted and the temperature of the mixture is about 120-130º F. For me, it took about 2-3 minutes but I did it in one minute increments to make sure the mixture doesn't get too hot and boil over.
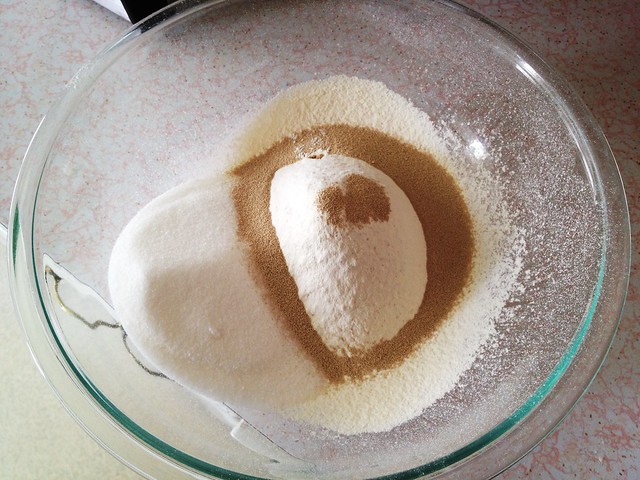
While your butter and milk are microwaving, sift two cups of the flour, sugar, yeast, and salt to a bowl.
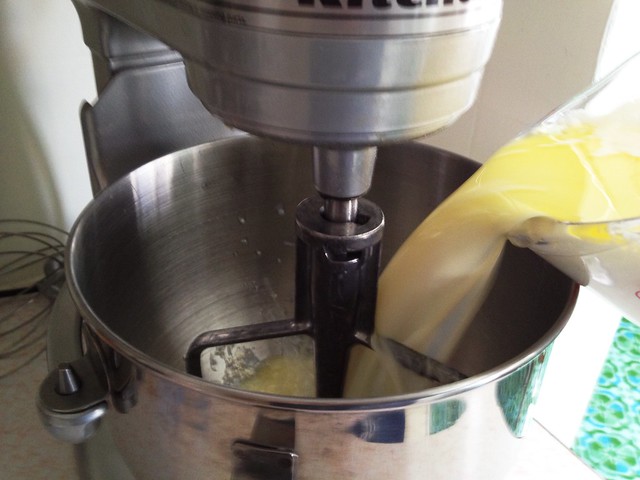
Pour the butter and milk mixture into a mixer fitted with a paddle attachment.
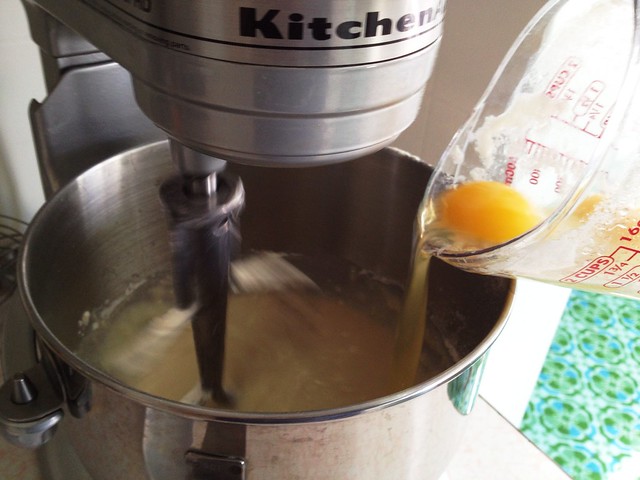
Add the dry ingredients and eggs slowly. Mix on slow speed until well combined and most of the lumps are gone. Scrape down sides of bowl.
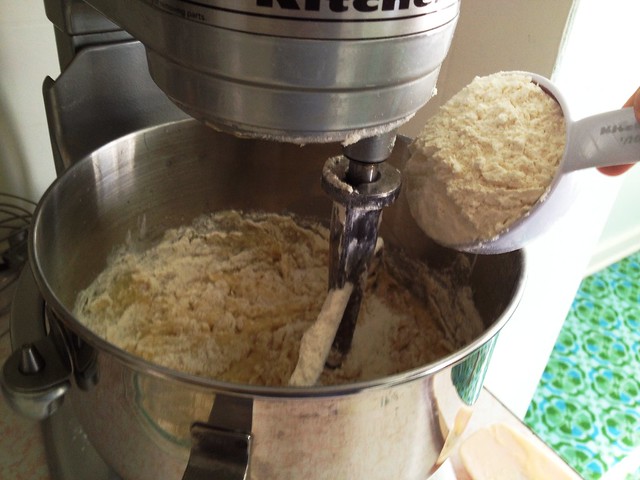
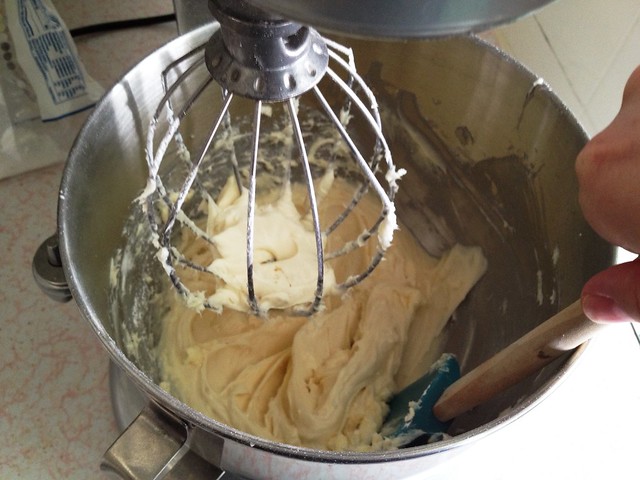
Add the remaining five cups of flour with the paddle attachment until the dough is combined and sticky. It should look something like this:
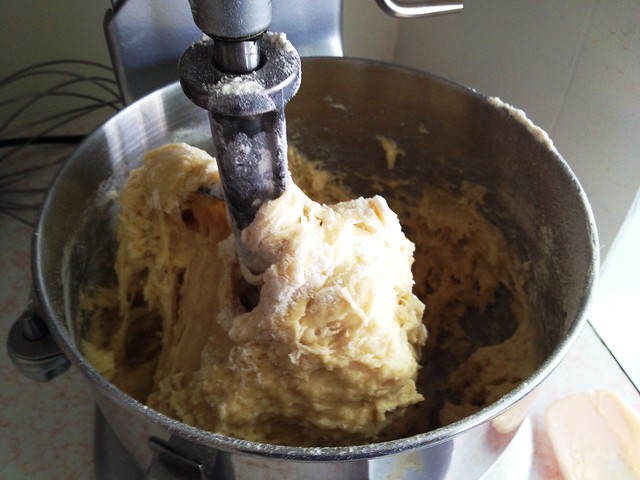
At this point, you can turn the dough out onto a floured surface and knead until smooth and elastic. Or, you can do what I did and just pop in your dough hook and continue to mix. Hey, isn't that what dough hooks are for?
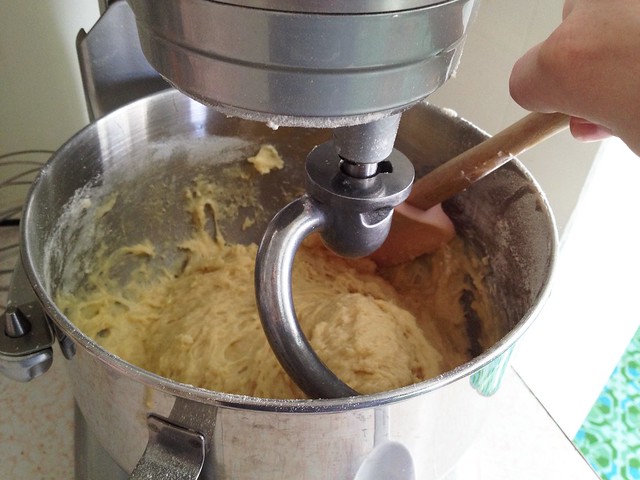
Scrape down and dust the sides of the bowl with flour. This should help the dough form into a ball.
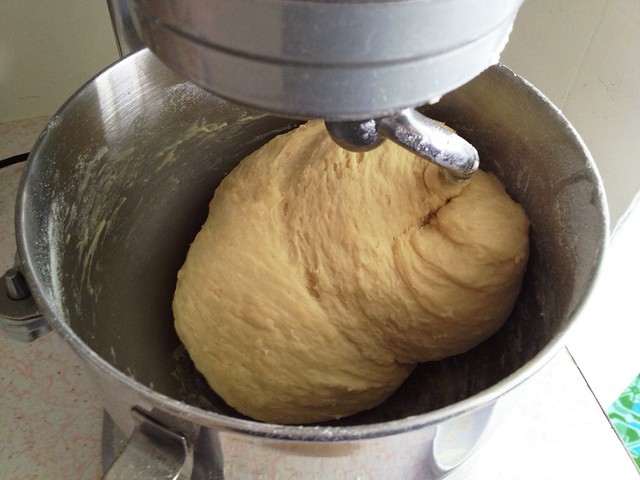
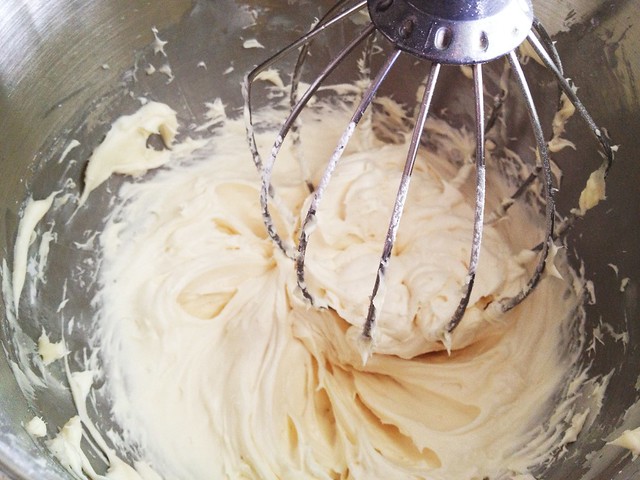
Continue kneading at slow speed until the dough is formed into a ball and is smooth and elastic, about five minutes. If the dough is still sticky, add flour by the tablespoon full and keep mixing until it forms a ball.

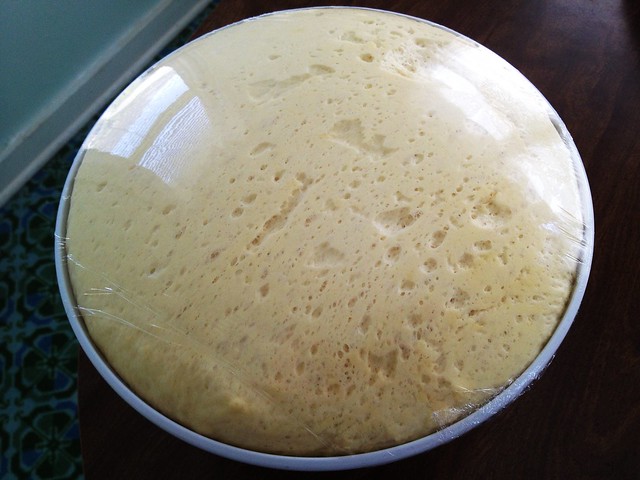
Spray a large bowl with vegetable non-stick spray and plop the dough inside. Turn to coat. Cover in plastic wrap then a kitchen towel and let rise in a warm area for about two hours or until dough doubles in size.
While your dough is rising, it's time to get your raspberry sauce ready. Combine the raspberries, brown sugar and cinnamon in a small saucepan. Give it a good beating with your whisk to mash the berries and get everything mixed together.

Whisk in the cornstarch and allow to come to a small boil over medium high heat (careful, it splatters). Keep whisking the whole time. Once it reaches a boil, reduce heat to medium low and keep whisking until mixture thickens slightly, about one to two minutes. Once thickened, transfer to a container and put it in the freezer to cool while your dough finishes rising.
After two hours or so, your dough should look like this:
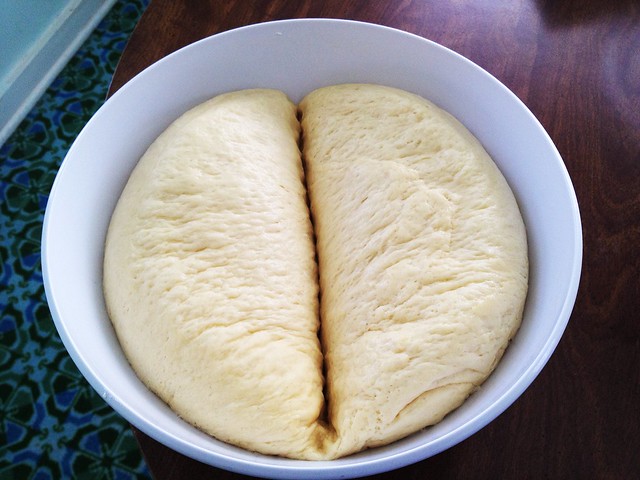
Punch the dough down and cut in half with your hand. Transfer the first half of the dough to a pastry sheet or other floured surface. I like to cover my pastry sheet with plastic wrap then flour so it doesn't get stained. We are working with raspberries, after all.
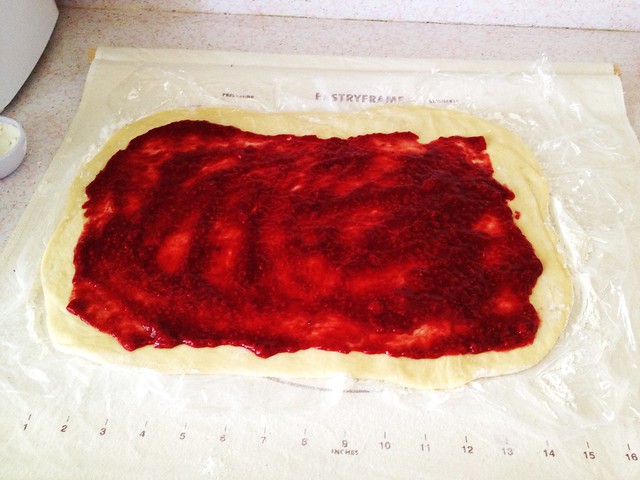
Roll the dough into a 15x11 inch rectangle. Grab your raspberry mixture out of the freezer and spread half of it on the dough, leaving about 1/2 inch border.

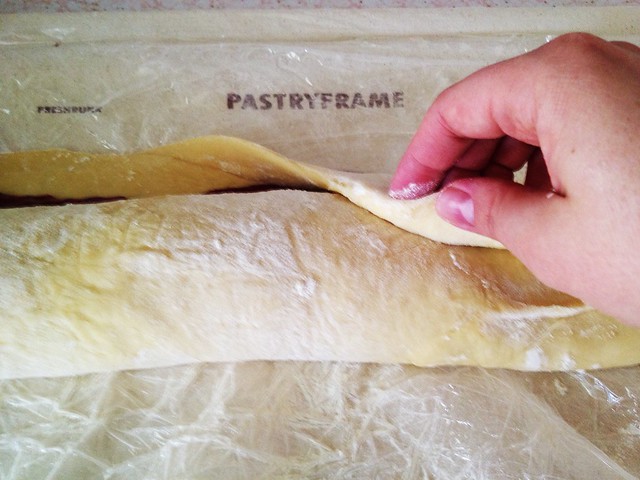
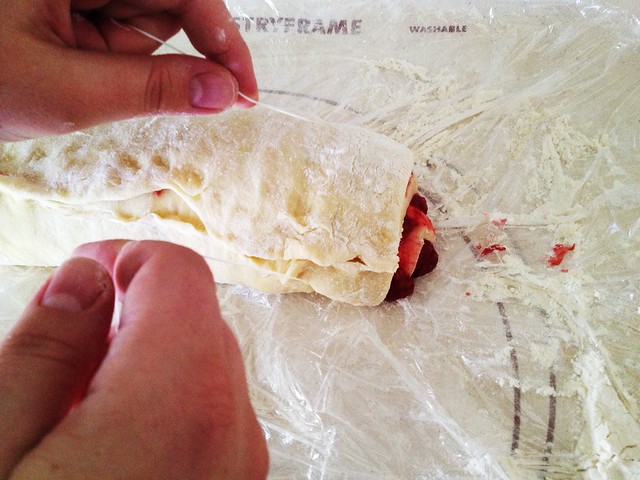
Make sure to roll carefully so you're not pushing the filling off the dough. I like to lift the dough slightly as I roll so the raspberry mixture stays in place. Once you get to the end, grab the end of the dough and bring it on top of the roll, and pinch to close. Like this:
After you have sealed the dough, grab a piece of plain dental floss. Yes, you are going to use this to cut the dough.
Slide under the dough about a half inch. Bring the dental floss together to cut the dough, like this:
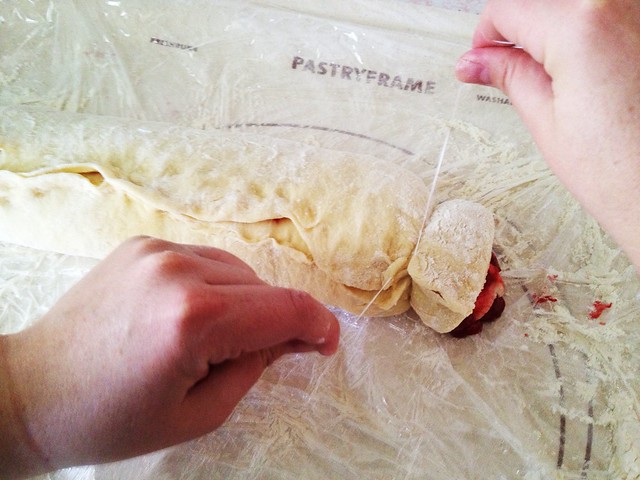
I sliced mine about 1/2 inch to 3/4 inch thick. Put slices on a greased 12x18 baking sheet. Repeat the same process for the other half of the dough.
You should have enough slices to fill the pan. Cover with plastic wrap then a kitchen towel. Let rise in a warm area for about 45 minutes.
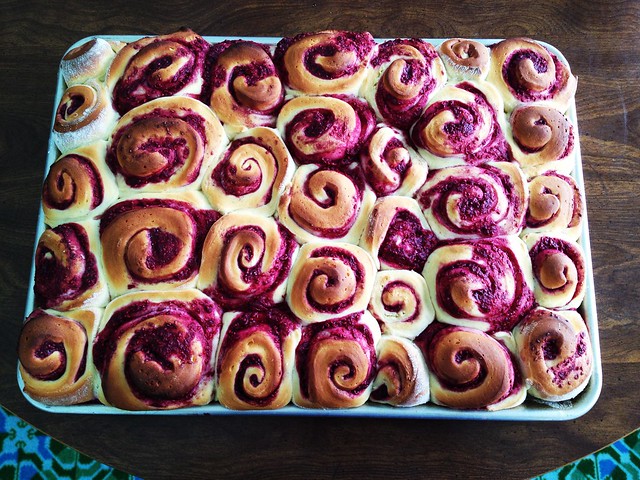
After they have risen, they should look like this:
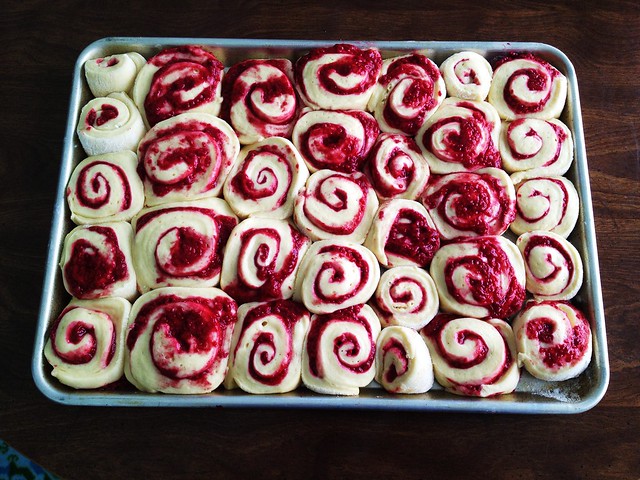
Don't worry if they look a little messy. In fact, embrace it. Think of it as modern art that you can eat.
Preheat your oven for 375 degrees and pop those suckers in. Bake for about 25 minutes or until the tops are golden brown. You can also tell when they are done if they sound hollow when you tap on them.
While they are baking, mix up your frosting. Combine the cream cheese, butter, powdered sugar and vanilla. I used my stand mixer again, fitted with a whisk attachment.
Mix on low speed, scraping the sides, until incorporated. Then beat on high speed for about five minutes until the mixture starts to get fluffy.
Mmmm....cream cheese goodness.
By this time, your rolls should be done.
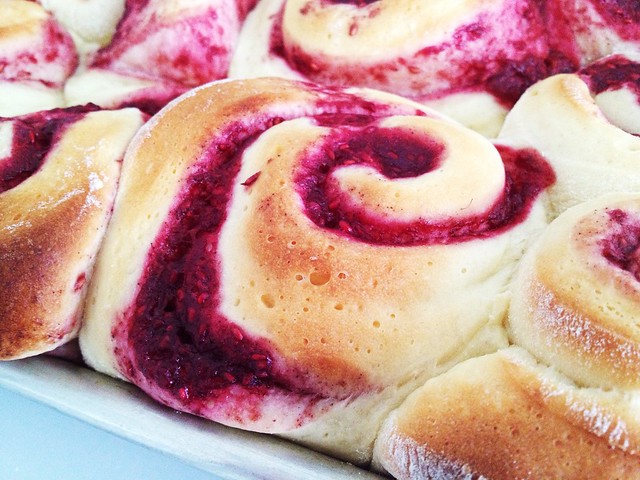
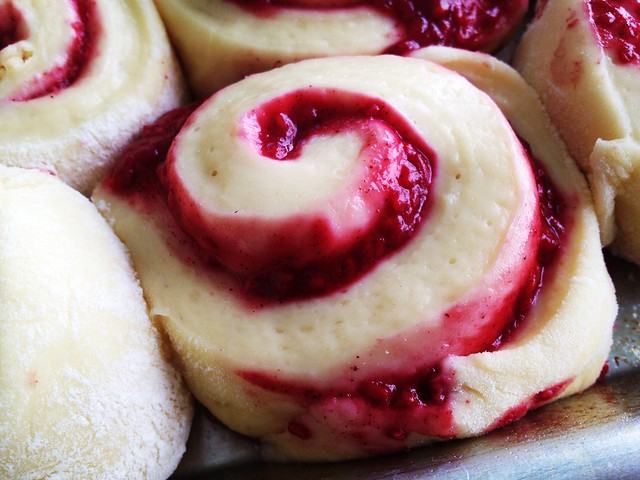
This one has my name written all over it. Okay, maybe the one next to it, too.
Wait until the rolls are cooled and frost to your heart's content.
-Candice
can't wait to make these!! I love this blog already! So cute and fun.
ReplyDeleteThose look soooooooo delicious !!!!!! i really want to try them .
ReplyDeleteThank you so much for sharing, I still have raspberries in my freezer from last year crop and think this will make a beautiful Mothers Day treat. This year crop will be double since adding a second patch and these look like a great thing for my fall Craft Show.
ReplyDeleteThank you for checking out our blog, MJ! We hope you like the rolls. Best wishes!
ReplyDeleteThese look fabulous and I can't wait to try them! (I'm making them tonight). I just want you to know though when the recipe is written out in print form the section about what to do with the raspberry sauce is incomplete.
ReplyDeleteAck! Sorry about that! It is now fixed. Thank you for letting me know! Let me know how you like them!
ReplyDeleteJust made these today, and they were wonderful! Thanks for the recipe!
ReplyDeleteJamie H @ Coffee With Us 3
I'm glad you like them, Jamie! Come back and visit often. :)
DeleteI shared your recipe on my blog, and of course I left a link back to you. I will definitely be trying more of your recipes!
Deletehttp://coffeewithus3.blogspot.com/2013/06/raspberry-cinnamon-rolls-with-cream.html
Thanks for sharing! Let us know if you try and like others. :)
DeleteI wonder if these would be just as good with strawberries...? Any thoughts?
ReplyDeleteChristina, I bet they would be awesome with strawberries!
DeleteThey look yummy.....but upon review of the very nicely detailed directions I am sure the baby and me would have had to go to the bakery !!!
ReplyDeleteThey're easy, I promise! :)
DeleteThese look sooo good! I love a good homemade cinnamon roll and I just might have to try these soon. I hope everyone who might be on a diet can forgive me.
ReplyDeleteHey, if they're going to splurge, it might as well be a cinnamon roll, right? ;)
DeleteI just found this recipe on Pinterest and knew it would be perfect for our 4th of July celebration in none other than Paris, Idaho! I couldn't believe when I looked at the about page that you girls were from there. My grandpa grew up in Paris, and my grandma grew up in St. Charles. We now have some land across from the rodeo grounds where we keep our trailers and try to make it to every 4th of July, there is no better place to celebrate it!
ReplyDeleteHow cool!! I'm sure our grandparents knew each other then. So fun to meet people who have Bear Lake roots. If you see us around on the 4th, come say hi! :)
DeleteDo you think you could make these ahead of time and refrigerate over night and then let them raise in the morning and then bake?
ReplyDeleteYeah, I think that would work!
DeleteYay! I love these recipes! And even more that you are from Paris. My grandparents and my mom grew up there. My mom moved back a few years ago for some quiet from salt lake. I can't wait to ask her if she knew Viola. I stumbled on to your blog while looking for huckleberry recipes.
ReplyDeleteHow awesome! Do you mind me asking what your mom and grandma's names are?
DeleteDo they need to be baked right away or can I freeze them when they are all done rising and pop them in the oven tomorrow?
ReplyDeleteWhat I would do is after you roll them out, cut them, and put them on a sheet, cover them well and put them in the fridge overnight. Then in the morning, let them raise before you put them in the oven. Probably about an hour before or more, until they're puffy. :)
DeleteCory made these again for missionary farewell and they were a total success. They are the best!
ReplyDeleteCool
ReplyDelete